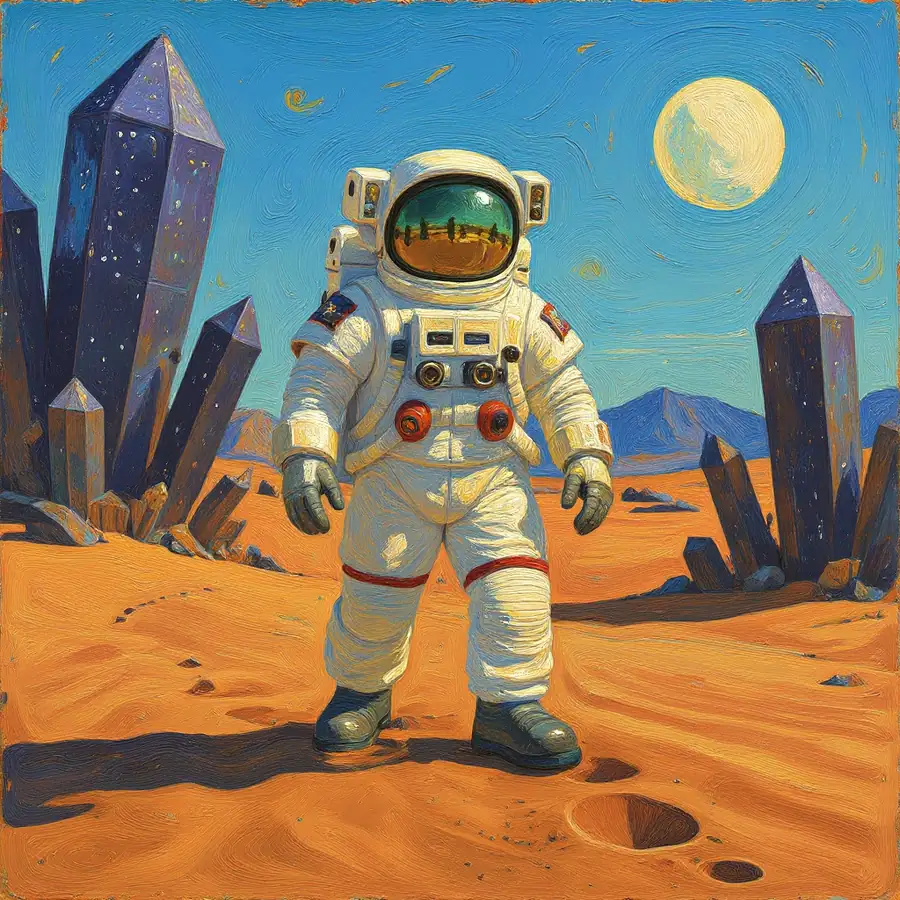
A new visual style
A real oil-painting result generated after choosing a style for the source photo.
See the full Oil Painting exampleUsage guide
You pick the tool for what you want to do, sign in, and upload your image. If the tool needs it, you adjust its options; then you confirm the operation, with the credit cost in view, and Editasteic runs it. When it finishes you can compare the result, download it, or continue with another tool.


Background removal is one example. Each tool adds its own controls between the image and the result, and not all of them return an image.
Start from a tool page or open the app and choose the transformation from the toolbar. Each tool handles a different task.
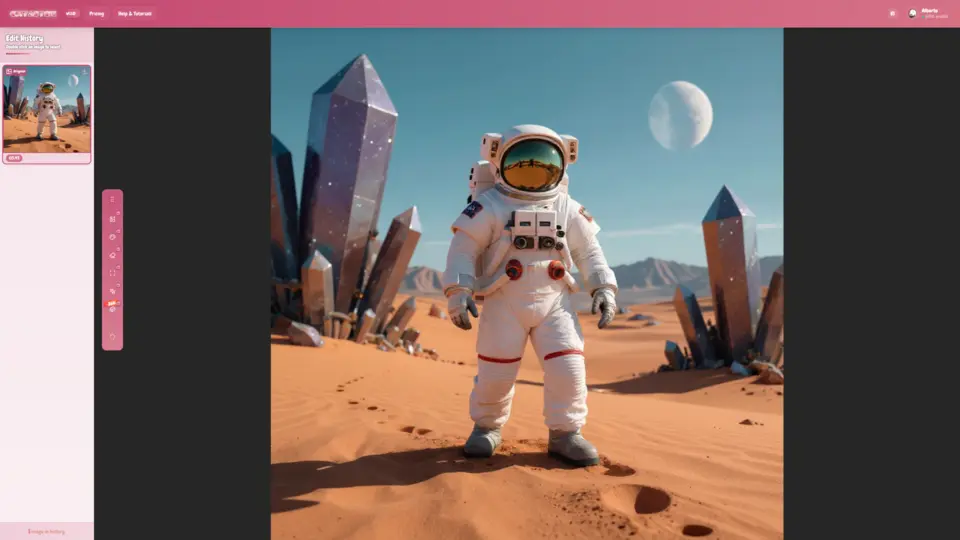
You need an account to upload an image and run operations; you can read the public pages without signing in. Add an image file from your device. You work with one image per operation.
Some tools run with their defaults. Others ask for a marked area, an instruction, a style, a language, an enlargement factor, or 3D settings. There is no single flow for all of them.
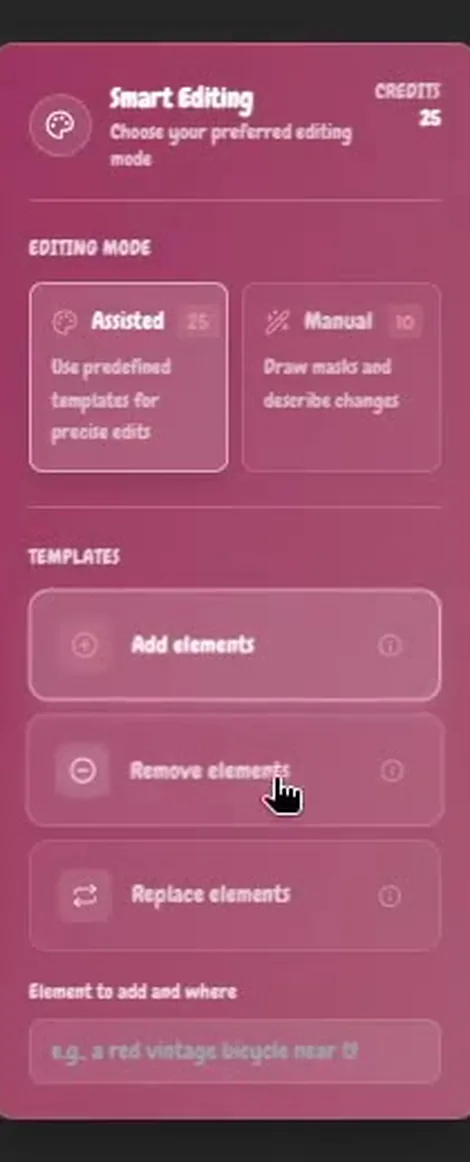
Before it runs, the confirmation dialog shows how many credits the operation uses. For Smart Editing it shows the cost of the mode you chose. It is the cost of that operation, not your balance.
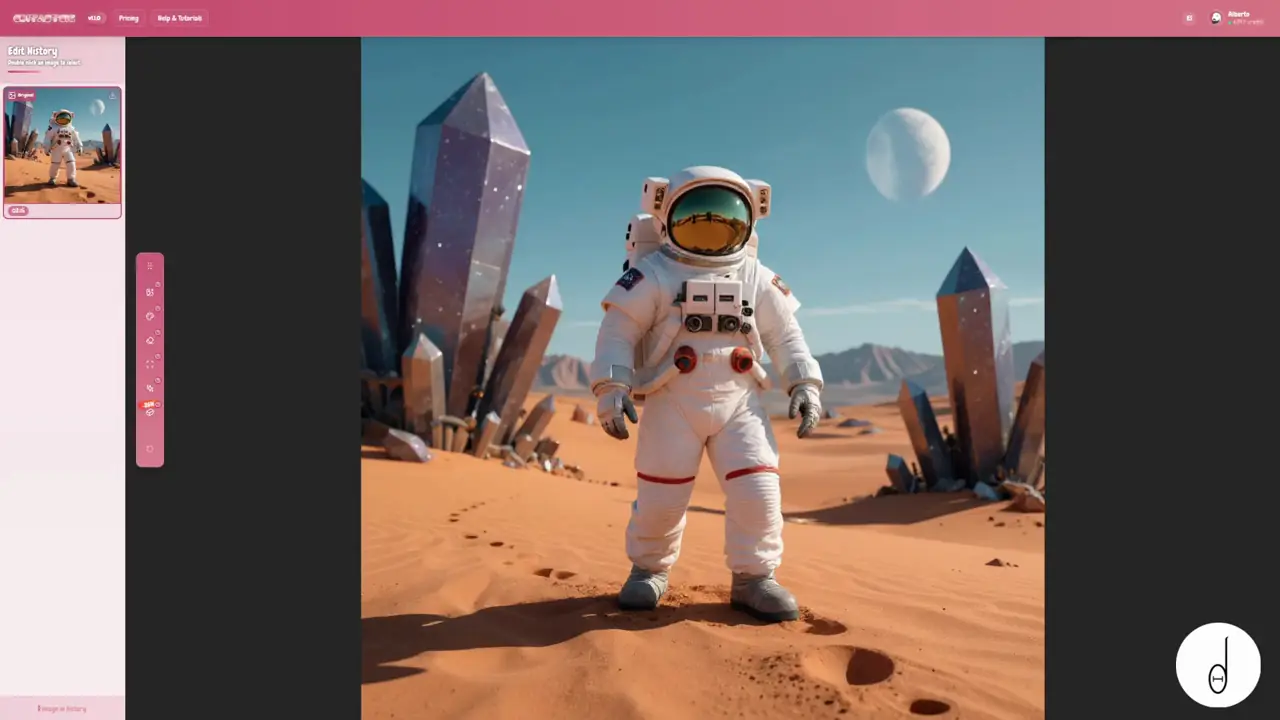
Compare the result with the original and download it. During the session, your results stay available in the editor history. A 3D result opens in a viewer you can rotate and downloads as STL. You can also continue with another tool from a result.
Create a cutout with a transparent, white, chroma-green, or blurred background.
See Remove BackgroundIncrease the image's resolution and generate edges and texture as it enlarges, with optional controls for resemblance, creativity, and sharpening.
See Image UpscalerDescribe the change in Assisted mode or mark one or more areas in Manual mode.
See Remove Objects from PhotosChoose one of 11 presets or describe another style in Custom. Editasteic generates a new version; the composition can change.
See Change the Style of a PhotoChoose a target language and Editasteic generates a new image with the translation integrated; the text and other details may change.
See Image TranslatorGenerate a 3D mesh from an image and download it as an untextured STL. It is an interpretation, not a scan or an exact reconstruction.
Create a 3D modelLog a print request for a generated model for later review and a quote. Receipt, manufacturing, and shipping are not guaranteed.
Request a 3D printReal results already verified on their feature pages. They are not simulated demonstrations.
A real oil-painting result generated after choosing a style for the source photo.
See the full Oil Painting example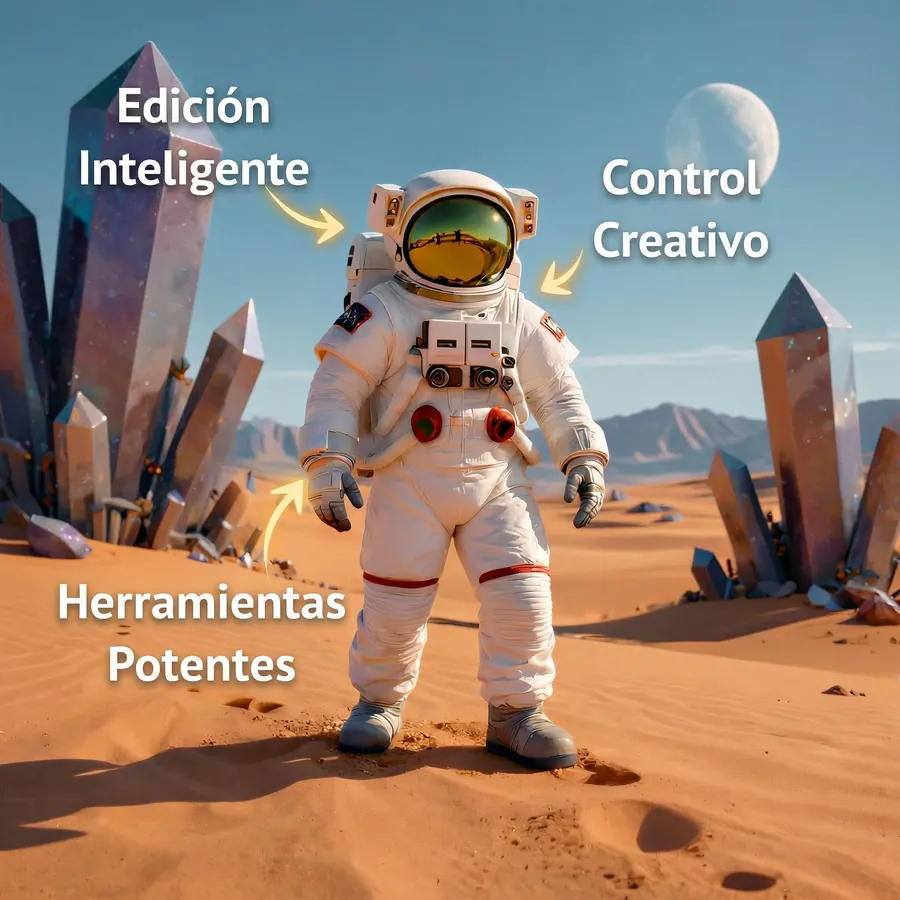
A real result with the captions translated inside a new image; some visual details may vary.
See the full translation example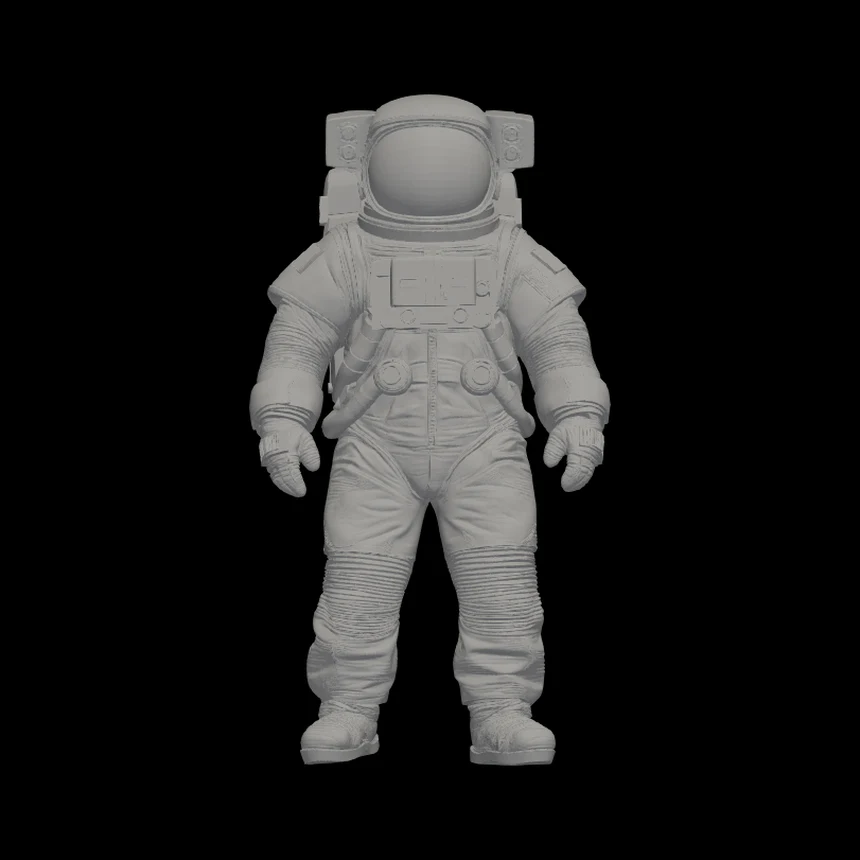
A real geometry-only STL result shown in the Editasteic 3D viewer.
See the full 3D exampleOperations on your image · Image to 3D Model · Custom 3D printing
Removing the background, improving quality, editing objects, changing the style, or translating text: some run with defaults and others ask for direction. The result is an image you download.
Generate a 3D mesh from an image. The result is not an image: it is an untextured STL file you review in a viewer and download.
It is not an image operation and does not use credits as a manufacturing price. From the 3D model you log a request with your preferences for later review and a quote.
You can read the public pages without an account. To upload an image and run any operation you need to sign in.
Choose a tool from its page or from the app, sign in, add an image, adjust the options if the tool asks for them, and confirm the operation.
Yes. Before you run an operation that uses credits, the confirmation dialog shows how many credits it consumes. For Smart Editing it shows the cost of the mode you chose. It shows the cost of the operation, not your balance.
They are the system Editasteic uses to run operations. One balance works across all tools, each operation costs a different number of credits, new accounts get a welcome balance, and you can buy more in one-time packs. Running an operation again uses its cost again. If an operation fails for a reason attributable to the service, the app attempts to return the credits; if that cannot complete automatically, it reports that follow-up is needed. Amounts are on the Pricing page.
No. Some run with their defaults and others ask for an area, an instruction, a style, a language, or settings. Most return an image; Image to 3D Model returns an untextured STL file; and Custom 3D Printing is not an operation but a later request that is logged for review and a quote.
During the session, in the editor history. Reloading the page clears that history. 3D print requests do not appear in the history.
Yes, within the same session, from the editor or the history. Reloading the page clears that session history.
The usual image formats are accepted, including PNG, JPG, WebP, HEIC, and a few more. If the format is not directly compatible, it is adapted before processing.
Yes. You use it in the browser: you choose the tool, upload the image, and when the operation finishes the result appears in the editor to review and download.
Open the editor, sign in, and upload the image you want to work with.
Open Editasteic